Highlights
• LAVA SMARTPHONES ANNOUNCES EXCLUSIVE FESTIVE SEASON DEALS ON AMAZON
• Customers will be able to get their hands on Agni 2 for Rs 17,999/-, valid for limited stock.
• Customers can also grab the Blaze 5G starting at just Rs 9,999/- and avail up to a 10% discount.
Lava is delighted to unveil its highly anticipated festive season deals exclusively on Amazon.
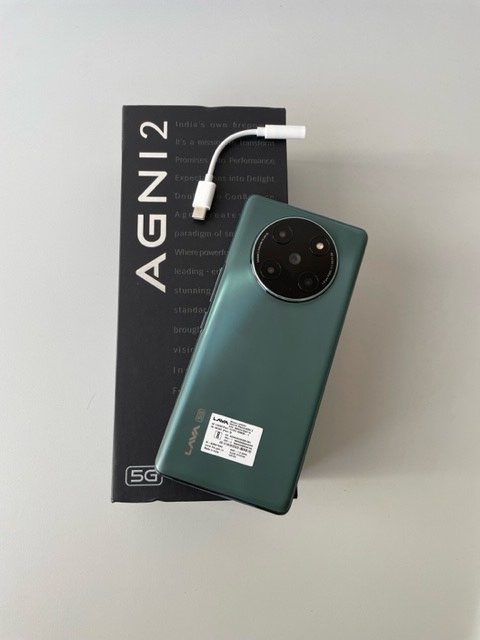
Lava’s Agni 2 will be available for purchase on Amazon for at a discounted price of Rs 17,999/-.
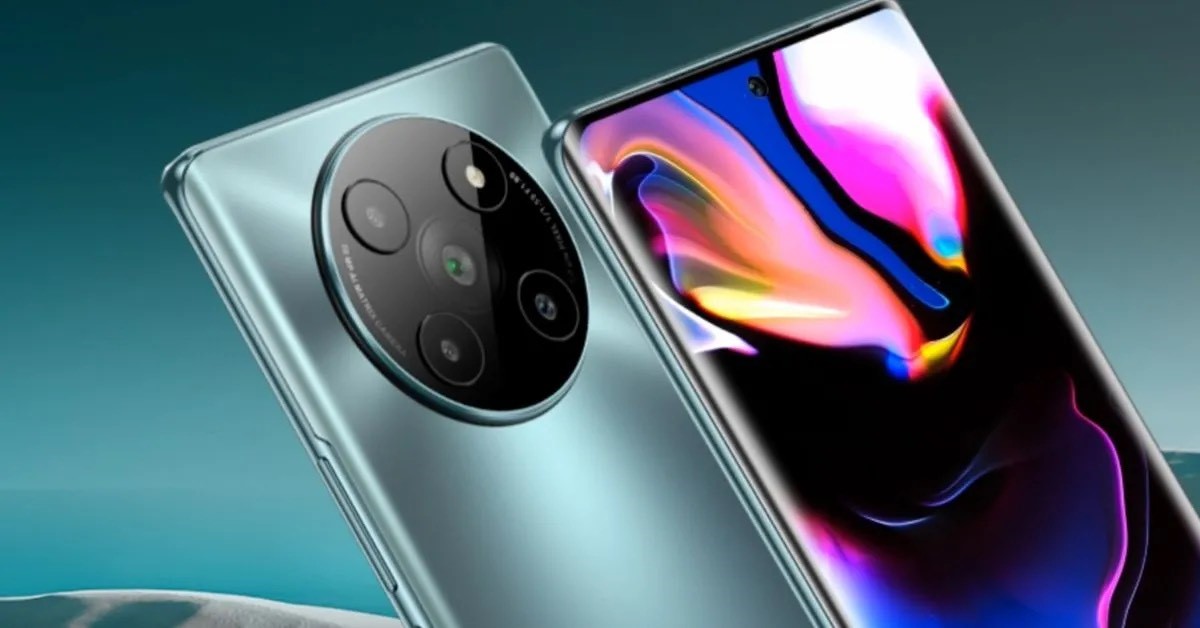
Truly ahead of the curve, it is India’s first smartphone powered by MediaTek’s Dimensity 7050 processor for a faster gaming and app experience.
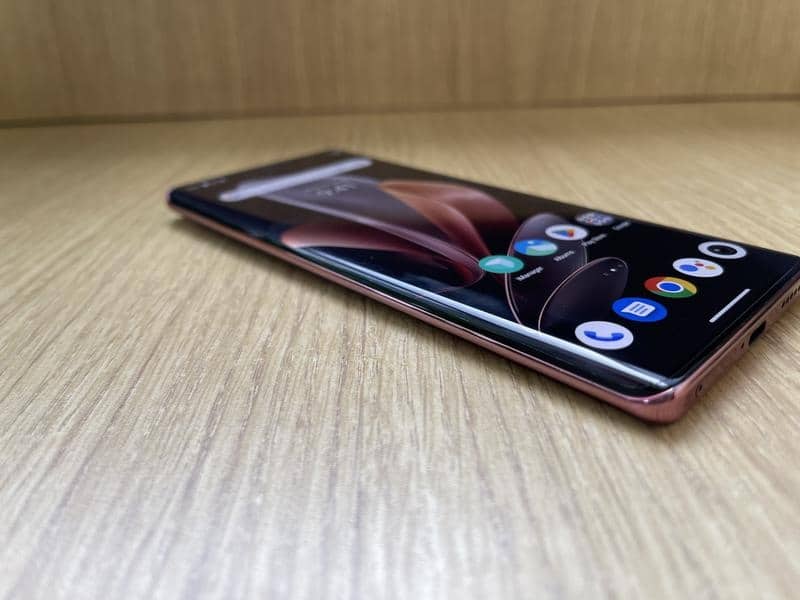
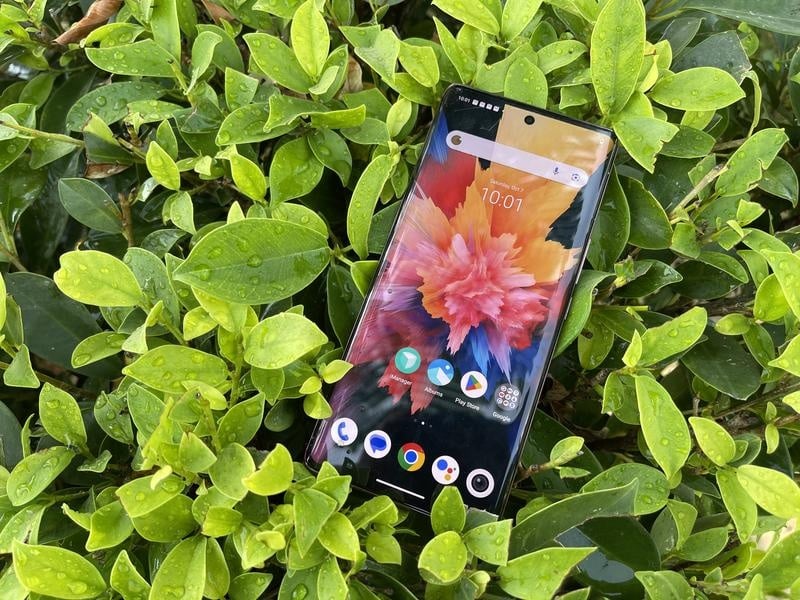
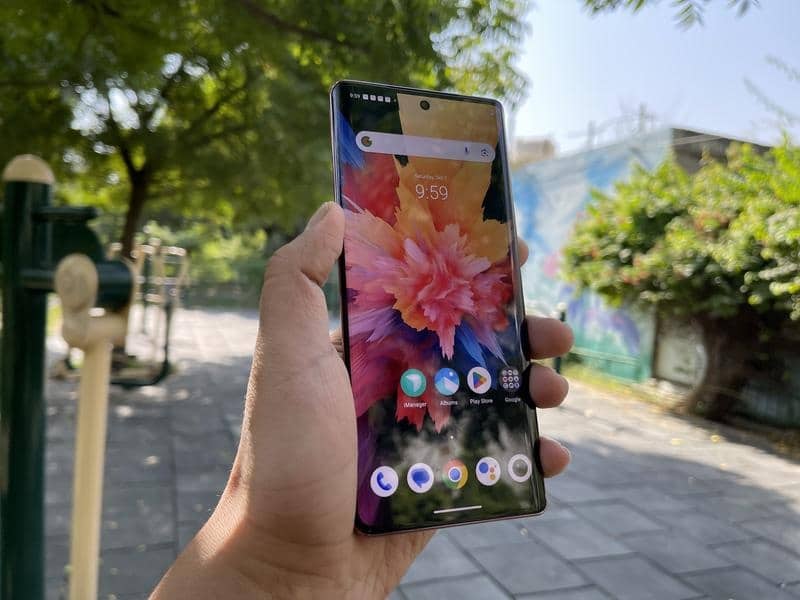
The Agni 2 offers the BIGGEST and the Segment Best 120 Hz 6.78-inch FHD+ Curved AMOLED display.
The display comes with 1.07 billion color depth, which is truly a segment differentiator and supports HDR, HDR 10, and HDR 10+ and Widevine L1.
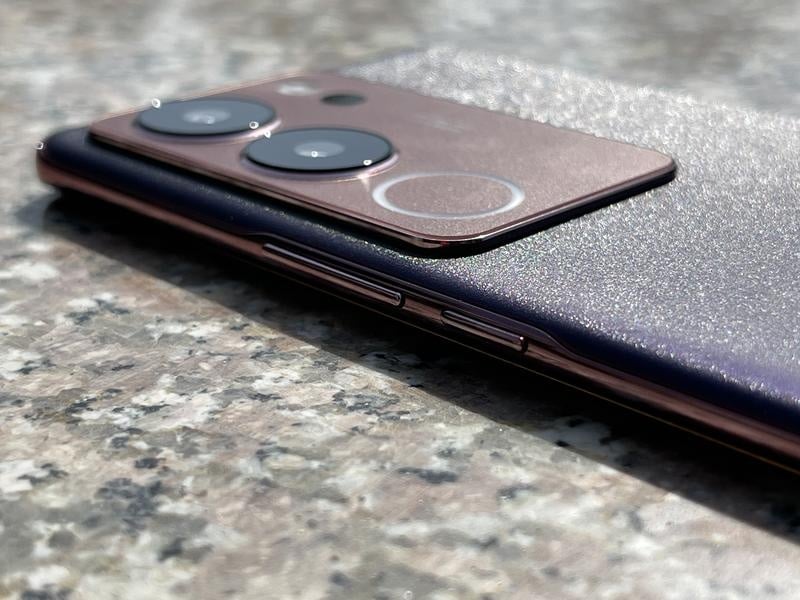
Agni 2’s Super 50MP Quad Camera comes with the Segment First 1.0-micron (1 um) pixel sensor, which captures more light and richer details.
Agni 2 offers a segment-best 256 GB storage along with 8GB RAM, which is extendable up to 16GB RAM virtually.
This ground-breaking offer, a result of collaboration and co-shared enthusiasm, is poised to redefine the smartphone experience for consumers.
There will be a bank offer of up to Rs 2000 instant discount on SBI cards.
Offer Details

| Mode of Transaction | MRP | Event price | Instant Bank Discount | Net Effective price* |
| SBI Credit Card EMI Transaction | 25999 | 19999 | 2000 | 17999* |
| SBI Credit Card Non-EMI Transaction | 25999 | 19999 | 1750 | 18249* |
| SBI Debit Card Transaction | 25999 | 19999 | 1000 | 18999* |
Lava Agni 2 – Should you buy ?
So, there should be any doubt that Lava Agni 2 falls under the category of a “desirable phone.” This is the type of device that if you see on display, we are sure you will reach out and would want to know more.
It is also a good phone especially considering its price.
The price of Rs 21,999 and with a special offer of Rs 19,999 is so good that it actually makes a lot of other popular smartphone brands and their series leading devices look expensive in comparison.
Let us also address the fact that we now have a truly Indian company making a phone which delivers in every aspect it promises and stands a great chance amongst its international competitors.
On top of everything positive, we have seen with Agni 2, Lava is also providing a One-Year Free Phone Replacement at Home if anything happens to it.
The promise does sounds like an overcommit, but let’s just take the brand’s word for it now.
And we just hope Lava can live up to that their words because good after-sales service is always appreciated in this category.
In conclusion, the Lava Agni 2 5G is a powerhouse of a smartphone that combines a stunning display, powerful performance, impressive cameras, ample storage, and long-lasting battery life.
With the brand promoting it with #ProudlyIndian, it also packs a sentimental angle being the truly first Indian smartphone brand.
Lava Agni 2 is one of the most anticipated smartphones from the company yet. After using the phone for a few weeks, I found that it does live up to the hype.
If you are looking for a smartphone under Rs 25000 that does most of the work well, the Lava Agni 2 is surely a decent option to consider.
I thoroughly enjoy the curved display of the Lava Agni 2 and the customization features that allow me to personalize it according to my preferences.
The performance is also decent, and the battery life and charging capabilities exceed expectations.
Additionally, the camera system works quite well. However, the issues with focus in macro photography, screen bleeding, and screen freezing did have a slight impact on my overall experience with the Agni 2.
Nevertheless, these issues did not completely detract from the phone’s appeal as a viable option in the under Rs 25,000 smartphone category.
All things considered, the Lava Agni 2 offers a satisfactory camera, battery life, and overall performance.
So, if you’re looking to support a local brand and explore something new, the Lava Agni 2 is a good option within its price range.
However, if you are still interested in comparing alternatives, you can check out the Moto G82, priced at Rs 19,999, which offers impressive battery life, camera capabilities, and overall performance.
Another noteworthy option is the IQOO Z7S, which stands out as one of the top smartphones available in its price range.
Buy Lava Agni 2 5G For

* ‘Made In India’ 5G Smartphone
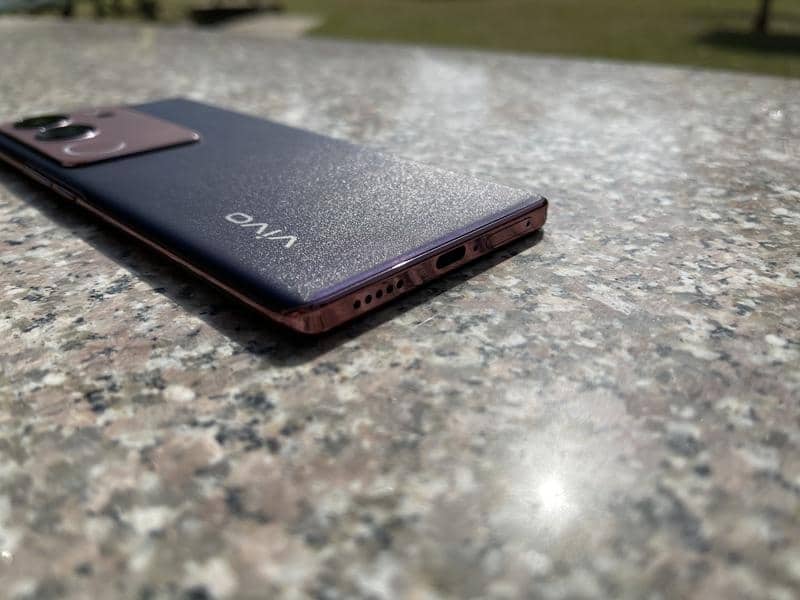
* Stunning 3D Dual Curve Design With Glass Back With Premium AG Matte Finish
* Full HD+ Curved 6.78” Display with 120Hz Refresh Rate and 105% NTSC Colour Gamut
* India’s First MediaTek Dimensity 7050 Processor
* Vapour Chamber Cooling Technology
* Supports Segment Best – 13 5G Bands
* Quad Camera with Versatile Camera System
* Superfast 66-Watt Charging
* Free Phone Replacement at Home
FAQs on Lava Agni 2 5G
Q1. Can I play Genshin Impact on my Lava Agni 2?
Answer. The Genshin Impact video game has the following requirements to be able to work on an Android mobile device: minimum 3 GB of RAM memory, Android 7 or higher operating system and free internal storage space of at least 8 GB. The Lava Agni 2 has a RAM memory of 8 GB, a graphics card Mali-G68, the processor Octa-core (2×2.6 GHz & 6×2.0 GHz), the chipset MediaTek Dimensity 7050 (6 nm), it comes from the factory with the Android 13 operating system and an internal memory of 256 GB 8 GB RAM.
Q2. When is the next sale of Lava Agni 2 on Amazon?
Answer. Lava Agni 2 5G price in India starts from ₹21,999 for the single variant it is available in. It is available as Amazon Specials at the lowest price with the next sale scheduled to go live on Amazon India on 15th June 2023 at 12 PM.
Q3. What body material is used in Lava Agni 2?
Answer. It comes with a Glass front, glass back, and plastic frame body material.
Q4. Does Lava Agni 2 support a fingerprint scanner?
Answer. Yes, Lava supports In-Display Fingerprint Sensor. As per the brand’s claim, it opens the screen in just about 0.24 seconds. The device also comes with a Face Unlock feature that recognises and opens the lock in 0.62 seconds only.
Q5. Does Lava Agni 2 support wireless charging?
Answer. No, it does not support wireless charging.
Q6. What is the battery capacity of the Lava Agni 2? What type of battery does Lava Agni 2 use?
Answer. The battery capacity of Lava Agni 2 is 4700 mAh. Lava Agni 2 uses a Li-Po battery.
Q7. Does Lava Agni 2 support a notch?
Answer. No, it does not support a notch. It comes with a hole punch at the top of the display which houses the selfie camera.
Q8. Is Lava Agni 2 a heavy gaming device or can it play heavy games?
Answer. No, Lava Agni 2 is not a heavy gaming device, it can run low to medium graphic games without any lags or frame drops.