Although Microsoft has been using all its machinery to improve the performance of Windows 11 and 10 through enhancements and updates, tech experts along with many users don’t always seem happy. This is most likely to change soon with what the tech giant is calling the Microsoft PC Manager. Already launched in China, the Microsoft PC Manager app is designed and developed to give a quick boost to Windows 11 and 10. The app needs to be installed in the system and it will do a run to disable every program that is affecting computer’s health and hampering its final performance.
Here’s a step by step guide on how you can install the Microsoft PC Manager app on your system and use it to enhance the performance of your computer in case it is Windows 11 or Windows 10 that you are using.
How to Install Microsoft PC Manager on Windows
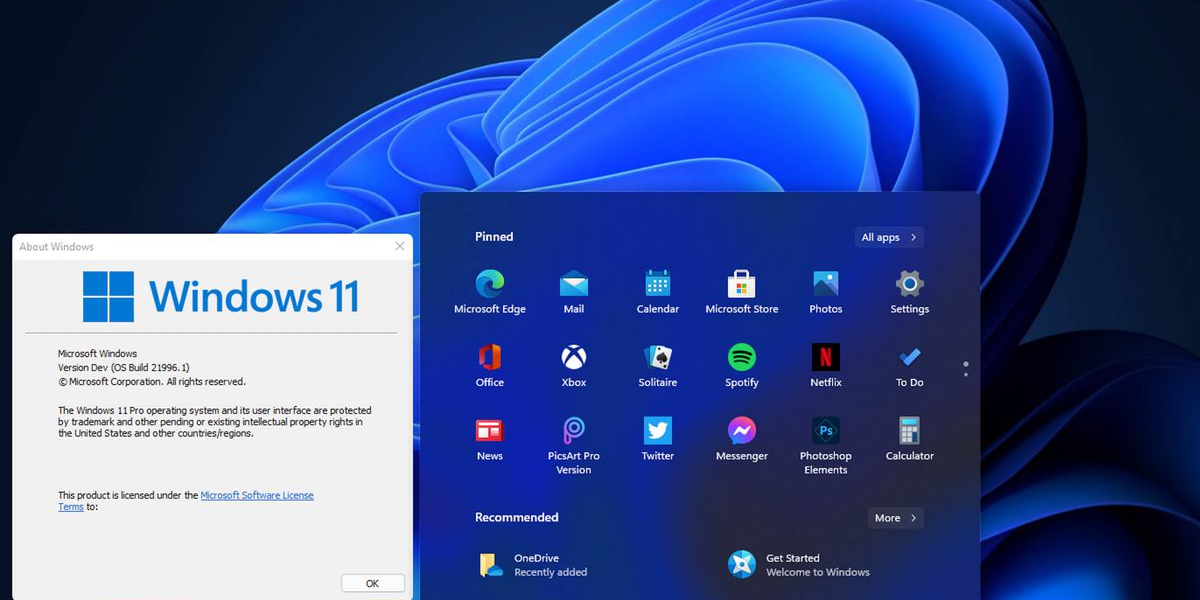
Before we do anything, the first thing you need to do is make sure your computer is running on Windows 11 or Windows 10 (1809 version or above). The PC Manager app is for enhancing the performance of these versions. To check this, follow the below steps:
Open Windows Settings -> System -> About to check the version of Windows on your system
Once done and ensured the appropriate version of Windows, the next steps to install the PC Manager app are as follows:
Step 1. In order to download Microsoft PC Manager, open pcmanager.microsoft.com and click on “Free download” option.
(Users must note that this website to download the app is in Mandarin. However, the app supports the English language and will switch upon installation. Also, note the app will not automatically switch to English but to your default system language.)
Step 2. The second step is to double-click on the setup file (MSPCManagerSetup.exe). Then follow the on-screen instructions in order to complete the installation process of Microsoft PC Manager. This is a lightweight utility app of about 5.7MB. Thus, the installation process should not take too much time.
Once this is done, the app will be installed on your computer for further use.
How to Use Windows PC Manager App on Windows 11 and 10

The Windows PC Manager app can be used to “Boost” the performance of your computer and secondly, to perform a quick “Health Check.”
Users only need to click on the “Boost” button in order to boost their PC’s performance. This one button will function to find and remove the temporary files from your computer. It will free up memory instantly. “Boost” can be used anytime when a user experiences lagging or speed issues in their system.
The second function that the PC Manager app performs is the “Health Check.” Users can get a “Health check” of their computer to find any potential issues with the Windows 11 and 10 software. The function checks and searches for all kinds of junk files and not just temporary files. It also checks for Windows cache, system logs, and recent file lists for potential issues.
Other than this, users can also use the Windows PC Manager to manage storage, End and delete any resource hogging applications from the computer, disable startup apps for quick start, security and much more.
Read More:
Windows 11 Fast Startup; Details Inside
