This year, Google released the 100th update for Chrome OS, taking advantage of the occasion to introduce brand-new features. Among them, a brand-new Chrome OS launcher and a screen recording tool with built-in support for Chrome OS were unveiled.
Later, Google added a new Partial Split feature that functions similarly to Windows 11’s Snap Layouts. Your Chromebook’s screen can be quickly split into two, allowing you to work with two windows side by side with just one click.
You can now benefit from having two windows open at once on your Chromebook in a number of ways, including:
It enhances multitasking efforts
One of the main benefits of being able to split screen on Chromebook is that it allows you to multitask more effectively. This means that you can work on two tasks simultaneously, which can be a real-time-saver when you’re under pressure to get multiple things done at once.
There’ll be fewer distractions on the screen
Another advantage of having multiple windows open is that it makes the Chromebook screen feel less cluttered when you need to use two apps simultaneously.
Chrome split screen can be really helpful if you need to focus on one task, in particular, allowing you to work more efficiently and achieve better results with fewer distractions.
So in this article, we have explained 5 different ways to split screen on a Chromebook to help you multitask effortlessly.
Using the maximise button to enable split-screen on a Chromebook

The Maximise button also has other functions besides increasing and decreasing the window size. It can be used to split the Chromebook’s screen. This is how you can do it.
- Click and hold the “Maximise” button in the title bar of an open window. The maximise button will then have arrow indicators next to it on both the left and right. Simply drag the window to the left, and it will automatically reposition itself.
- Apply the same procedure to a second window. Drag the “Maximise” button to the right while holding the button down. Your Chromebook’s screen has now been split successfully. You can now see two windows simultaneously. Simply click the Maximise button to return to the full-screen versions of them, and the app will expand to its original size.
Also Read: How to Check RAM Slot Availability in Windows 11
Using keyboard shortcuts or a touchpad, you can split the screen on a Chromebook
You can easily split the screen on a Chromebook using keyboard shortcuts by following the below steps:
- To move a window to the left side while you are on an active window, simply press “Shift + [.”
- After activating a window, press “Shift +]” while clicking on another window to snap it to the right side of your Chromebook’s screen. You can easily split the screen on your Chromebook in this manner.
- Hover the mouse cursor over the intersection of the two windows in split-screen mode to change the window size. There will be a slider there immediately. To automatically resize the windows, hold the slider in place and slide it to the desired side.
You can split the screen on your Chromebook using touchpad gestures in addition to keyboard shortcuts. Yes, there are a few simple touch gestures that even Chrome OS supports. Here’s how they operate:
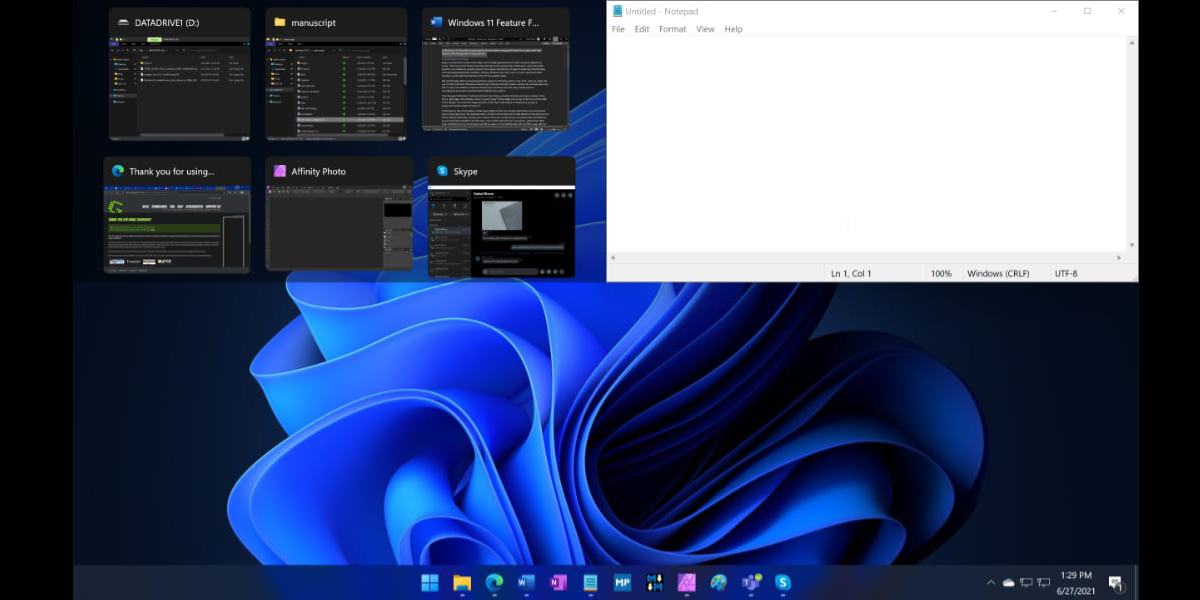
- Swipe up with three fingers on the touchpad to reveal the overview menu if you have several windows open.
- After that, click and drag a window to the left or right, depending on your preference. The window will snap back to that position right away.
- To split the screen on your Chromebook, click the window of your choice on the opposite side of the screen.

On your Chromebook, use split screen by dragging and dropping
Dragging and dropping split screen where you want it can sometimes be the simplest method of using it. Simply open the first website you want to display and drag it to the left or right edge of the screen from the title bar.
Once the window is on the side of the screen you want it to snap to, let go of the mouse. When the screen’s outline has formed, release the mouse to dock the device.
If you want to work on two documents simultaneously on the same screen and need to refer to one of them, this mode is useful.
Using Windows 11-like snap layouts, capture windows on a Chromebook
You can quickly move windows to different locations on your screen with the help of Snap Layouts. Google has been developing a window-snapping function dubbed “Partial Split” that is modelled after it.
All Chrome OS channels, including Stable, Beta, and Dev, already have the feature available on Chrome OS 105 or above. However, it is still disabled by a few Chrome settings, so you must manually enable Partial Split on your Chromebook. Here’s how you approach it.
- Verify that Chromebook is supported by version 105 or higher. Open Chrome and then paste the following address (chrome://flags/#partial-split) into the address bar. From the drop-down menu, select “Enable” to make the feature active.
- After that, paste the address (chrome://flags/#cros-labs-float-window) and make sure this feature is enabled as well. The “Stay on top” option in the Partial Split menu will be activated. To apply the changes, click “Restart” now.
- After logging in, simply place your mouse over the “Maximise” button to instantly see the Partial Split menu. On your Chromebook, you can choose between a half-screen, partial-screen, or full-screen split. You can also pin a window on top of everything using the “float on top” feature.
- This is how the Chromebook’s Partial Split feature operates. We expect Google to add more split views, keyboard shortcuts, and features before a wider rollout because the feature is currently locked behind a flag.
Use the Duallas Extension to split screens on a Chromebook
Right beside the URL bar you can find an extension, which is called Dualless. It appears to be two split windows. Click on the tab you want to be on one side of the screen if you have two or more tabs open.
After that, select the window’s size by clicking the Dualless extension. The window will automatically resize and move to the desired side.
When multitasking, using a split screen is extremely beneficial for maximising productivity. However, this method works best with devices that have larger screens.
