
Fixing Windows 11 Blue Screen
A new version of an operating system is considered superior to its predecessor, i.e. Windows 10 is superior to Windows 8 as it is an upgraded operating system and similarly, Windows 11 is considered superior to Windows 10 and the previous models.
We are currently in Windows 11 phase and it is currently the best option we have until a newer Windows version comes out into the market. As time passes on, it is inevitable for the system to become afflicted with some technical issue or another.
This is similar to a healthy body becoming vulnerable to ailments as age catches up and the body becomes weaker and weaker as a result. The same is true for Windows operating system as it becomes vulnerable to virus or glitches of every kind.
When it comes to errors, Blue Screen of Death (BSOD) is one that is quite a rare but a frightening error to manifest in PCs where users are still use older hardware face. In BSOD, the screen turns completely black on Windows 11 and this happened to many users around the first week of October 2022.
Luckily, there are certain steps through which the issue can be sorted out because these are tried and tested methods that can easily work out for users that are facing the BSOD issue.
- The first and most obvious step is to restart your PC as sometimes, BSOD can be sorted out with a simple reboot
- If reboot doesn’t work, then you need to first shut down your PC, turn on, and as the loading sign pops up, hold the power button and shut it down again, which should be repeated a couple of times until ‘Preparing Automatic Repair’ appears
- Unstill some of the recent updates as sometimes they mess up the operating system by going to ‘Startup Repair’ and click on ‘Troubleshoot’ then click ‘Uninstall updates’
Best Gaming Laptops on Amazon Great Indian Festival 2022
The Amazon Great Indian Festival 2022 has been quite a success with excellent discount offers and deals to look forward to as users were able to make the best of this golden opportunity especially when it came to gaming laptops, which were now available at affordable prices as the price cuts were something that anyone could manage.

Here are some important gaming laptops that users got to purchase as the deal was too good to be missed out. There are many people that are totally astonished after seeing the price cuts of these laptops.
- HP Victus– In the market, HP Victus is available at an MRP of Rs.71,343 but its price at the Great Indian Festival has been slashed down to Rs.52,990 where users with an Amazon Pay ICICI credit cards can get an instant flat discount of up to Rs.3,000 while Amazon is offering no-cost EMI options starting from Rs.9,498 per month.
- Acer Nitro 5– Its MRP price is Rs.99,999 but the festival offer brings it down to Rs.55,990 where SBI credit card holders can avail an additional discount of Rs.1,500 and also get an exchange discount of Rs.19,500.
- Lenovo IdeaPad Gaming 3– This gaming laptop model comes with an MRP of Rs.82,490 but its discount price is Rs.46,990 at the Amazon Great Indian Festival where SBI card holders can get an additional discount of Rs.1,500.
Also Read: Amazon Great Indian Festival Upgrade; Best Audio Gadgets
Chrome Operating System: Enabling Privacy Indicators
Google has recently come out with Chrome OS Flex along with brand new features for Chrome OS, which are not just targeted at productivity users but also give importance to privacy and security on the platform.
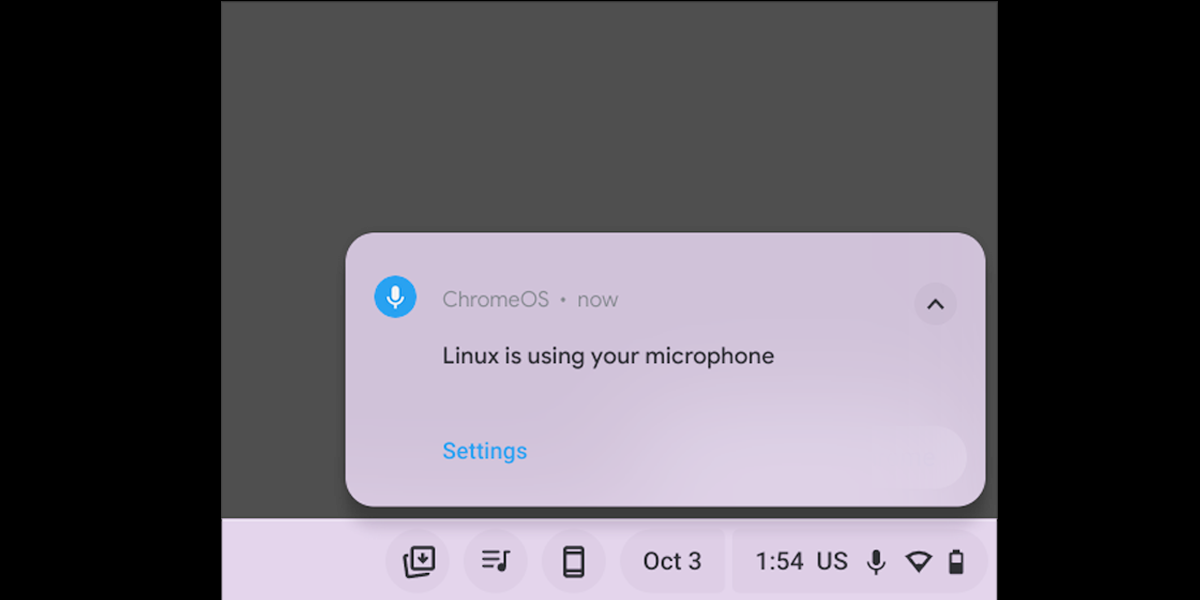
The newest addition to the list of Chrome OS security features are Android’s privacy indicators for the use of camera and microphones in Chromebook, which requires the user to enable the privacy indicators and has been therefore backported from Android to Chrome OS.
The privacy indicators alert users in case any app uses the microphone or camera in the background and this is a unique and useful feature that everyone should know about.
Enabling Process
- You first need to turn on the Chrome Flag for enabling privacy indicators in Chromebook, where you have to open Chrome and paste ‘chrome: //flags#enable-privacy-indicators’ following which the privacy indicator flag will open directly upon pressing ‘Enter’
- The drop-down menu will pop up immediately where you have to click on ‘Enable Privacy Indicators’
- Once it is done, you need to click on ‘Restart’ at the bottom to reboot your Chromebook and once the rebooting is done, open any app that requires the use of both camera and mic like Google Meet, for example
- The privacy indicators will appear in the bottom right corner at the Quick Settings panel and the enabling process is complete
- For disabling the privacy indicators, go to the same ‘Chrome Flag’ and disable it from the drop down menu and restart Chromebook
Also Read: Chrome OS Flex: How to install the new operating system
Google Background Change; Chromebook Matter
Chrome OS was released very recently but it isn’t considered as feature rich as macOS or Windows, but as far as customizing the operating system elements are concerned, it is just as good as the other two.
Now users can add widgets on the Chromebook desktop as well as enable dark mode via the brand new wallpaper app but there is another important feature that certain users aren’t aware of like changing the google background on Chromebook.
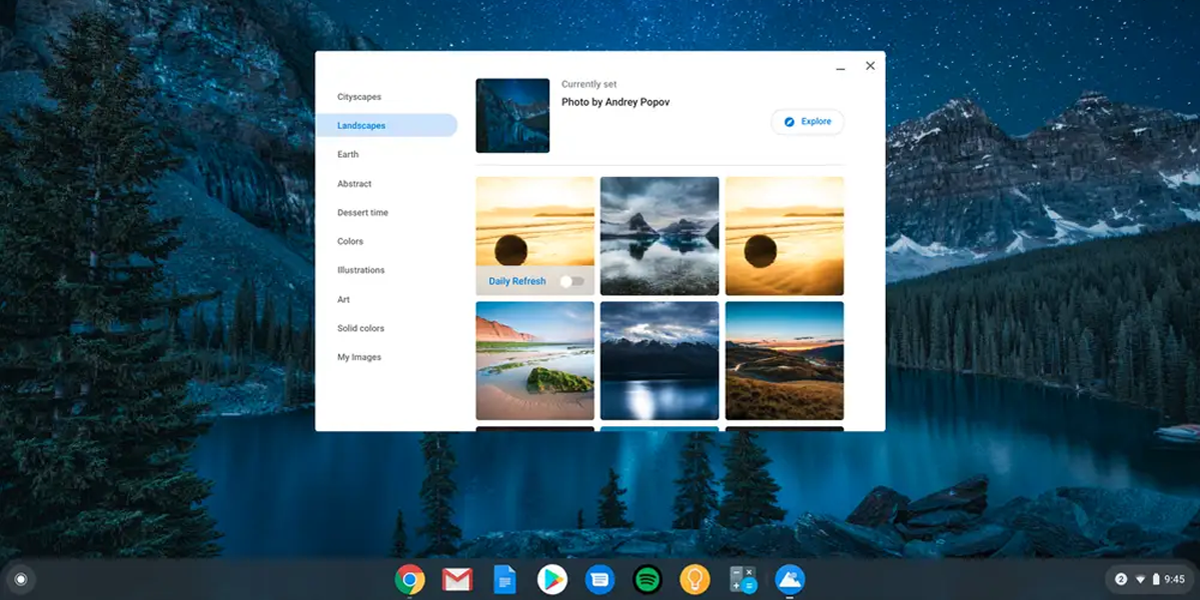
Given below are some important steps on how to change the google background on Chromebook where you can also apply new theme, set a new desktop wallpaper, and even change the screensaver.
Steps
- First of all, you go to Chromebook and open the chrome browser where you will find ‘Customize Chrome’ option at the bottom right corner that you click on
- Then go to the ‘Background’ option where you will find a variety of wallpaper collections from which you choose the ones of your choice
- You can even set a custom background in the Chrome Browser by clicking on ‘Upload from device’ in the ‘Background’ settings tab
- Next, you have to go to the Chromebook’s local storage and choose the background image of your choice